Showing posts with label Architecture. Show all posts

December 10, 2012

Evolution and Religion


I've always loved the Christmas lights at Temple Square in Salt Lake City, Utah. It really sets the mood for Christmastime for me. It's been a while since I've gone to photograph the temple in downtown Salt Lake City, but I've been excited to ever since I got my tilt shift lens. I've had some of these photos in mind for a while. It's always good to see them actually come to life. Even if I feel like I've shot this location a thousand times, I still had ideas to change it up and create something new. Conditions are always changing. Our style is always changing. Or better yet, evolving. I look back at some of the photos I've taken, some only months apart, and realize how much I've grown as a photographer. It makes me excited about my future and where I will be able to go with my vision. I just hope I can relay the ideas in my head to actuality and continue to progress. 

January 29, 2012

Day Full of Photography


I love the days that begin and end with photography.  Yesterday was one of those days.  I got up extra early to make it to Park City before sunrise.  In such a photogenic setting and just off the main road, the Park City barn has been photographed more than a few times.  I was hoping for some unique light so I could come away with something different.  
I like to think of the photo canvas as split up into thirds.  Not only two dimensionally, but three dimensionally as well.  I know, a photograph is only two dimensional, but hear me out.  To create an image with real depth and visual interest, the photographer must make it seem three dimensional.  How do you do that with a medium that is obviously two dimensional?  Fake it.  Use leading lines, create layers, get a different perspective.  Every photo I take, I want it to feel like you are there.  Or to feel like you want to go there.  Which is why I try to create depth in every photograph.  Now, back to the photograph being split up into thirds.  The rule of thirds is an elementary rule in photography and essentially places your main subject in a more pleasing location other than just smack in the middle.*  The rule of thirds is basically this; split your image into thirds and place the main subject or horizon lines in the intersecting thirds.  This is a great rule and should be second nature to any photographer, but what if we took it to the next step?  What if the photo was actually a cube?  If you split your image’s depth into thirds what do you get?  A foreground, a middle-ground and a background.  Placing visually interesting objects in these thirds will create depth, and how you place them will either make it interesting or distracting.  The idea of creating a cube instead of a flat plane will improve your photography tenfold.  Now, It’s up to you in how you place objects within this cube. 
In my photo below, the cattails are my foreground and out of focus for a reason as I don’t want them to distract from the main subject, the middle-ground, the barn, is my main focus, and the mountains are my background.  With an aperture of 2.8 I wanted the focus to stay on the barn and kind of soften every other layer in the photo (ie. the mountains and the cattails).  I used my 70-200mm lens to compress the landscape a bit and make it feel like the mountains were right up against the barn.  


Back in Salt Lake I was able to catch sunset in the city.  I went up to a favorite location of mine to take photos of the City Council Building.  I try to pre-visualize what kind of photos I want to take in certain locations and I certainly had some ideas of what I was looking for here.  The sky was working again for me and I was able to come away with the images I’ve had in my head.  Gotta love a day full of successful photography! 

*This rule, and every other rule for that matter, is really only a guideline (as Captain Barbossa would say).  So, learn the rules and then learn how and when to break them.

December 10, 2011

Lunar Eclipse


My alarm woke me at 5:30 am this morning and I had to wonder, 'Why in the world is my alarm going off on a Saturday?!'  Then I realized, I had done this to myself.  It's a funny thing what I'm willing to do for photography.  There was a lunar eclipse this morning and Salt Lake City got a pretty great show.  I couldn't have asked for any better conditions:  Clear skies, a setting moon, and a sunrise to light the foreground, not to mention a perfect scene from a nearby park.  Besides my toes being so cold they were going numb, it was an amazing morning.  

October 06, 2011


Great light tonight in the SLC.  The first snow of the season came last night and dusted the mountains just enough to add some drama.  The air is turning crisp and the leaves have turned.  It's a great time of year for photography.  I've enjoyed every chance to get to the mountains and shoot.  I was about to go right back up when I though the light and the time I had was best used for a shot in the city.  A previous shoot had me familiar with a great spot so I returned to capture the best light.  I thought I was too late as the sun was setting quickly, but made it just in time for the sun to peak through the clouds and light up the skyline.  The magic light was gone in minutes.  

August 22, 2011

Lightning Over Salt Lake


I have wanted to get a shot like this for some time.  It seemed every time I tried I was too late, or in the wrong spot.  A few Sunday's ago the west sky was full of lightning and I knew it was the perfect time for some shots.  I wanted to add more elements to the scene instead of just taking a picture of lightning so I went to a viewpoint I had scoped out some time before and composed as best I could for the unpredictable lightning.  It may seem daunting at first, but capturing lightning is actually pretty easy once you know how.  So I put together some tips below.
Capturing Lightning:
    1. Use a Tripod.  This is a must for the length of time the shutter will be open.  To reduce any movement during the long shutter speed here are some other tips you should keep in mind*:
      1. Turn off IS (Image Stabilization).  If you have your camera on a tripod it is still going to try to compensate for hand holding and make your image a little blurry.
      2. Enable Mirror Lock on your camera.  Read the manual or search in your menu to find this.  One shutter click flips the mirror up inside the camera before taking the shot and a second shutter click will take the shot. 
      3. Use a Shutter Release Cable.  Touching the camera will produce camera shake.
      4. Use a low ISO.
    2. Use a longer shutter speed.  Lightning comes and goes quickly, so make it easy on yourself, use a slow shutter speed and any time lightning strikes while your shutter is open (say during a 15 second stretch like the photo above) will show up on the sensor, and on your photo.
    3. Find an interesting foreground/subject and work with the lightning around it.  It’s just a shot of lightning if there is nothing else interesting in the photo.
    4. Take lots and lots of shots.  You’re not going to get it the first time.  Keep at it.  Find the best (safest) place and shoot away!
*These tips should be practiced any time you use a tripod.  


July 16, 2011

Adjusting to the Light

These past few weeks have produced some great summer light with the late gathering storms coming over the Wasatch Mountains.  Some of the best light and color comes from dramatic clouds.  Which is why getting out before and after the storm can produce some really stunning imagery.  So, don't shy away from clouds.  Even complete cloud cover can break up at the last minute and give you a light show at sunset.  It's all about being patient.  Even if nothing happens nine times out of ten, it's that one time that will keep you coming back for more.  

Salt Lake City Downtown Library in the foreground of summer storm lighting


You don't always get that light show you were hoping for, so what do you do when the sky is boring?  Cloud cover can be a great "soft box" for flowers and moss and produce much needed saturation in foreground elements.  It can also be useful for slowing your shutter speed for river and waterfall shots.   With a boring sky, go to the ground.

Cloud cover at midday made this photo without a filter.

Most people head in during a storm, but for photography, getting out in the wet and cold can be very gratifying in the end.  Note: Just make sure to protect your gear and yourself.  Plastic bags are a must in wet conditions.

The subtle snowfall and icy conditions give this photo depth.

Being a weekend warrior of adventures and photography, I find myself taking what I can get.  Weather and light conditions can make or break a photo, but being able to adapt to those different conditions can make the photographer.  Sure, that one photo you were hoping to capture may not work out, but try something different.  What makes the conditions unique?  How is the scene different?  Explore, discover, adapt.  


April 17, 2011

Where Inspiration Comes From


Most of the time when I go out and take a picture I have an image in my mind that I want to capture.  I preplan the location, the time, the angle. But most of my inspiration comes while on site.  And sometimes I think that is the best and truest form of inspiration.  The preplanning and pre-visualization gets me there to the location, gives me an idea before going out, but once I’m on site that’s when the true inspiration comes.  That is when I can say I came back with my own unique image instead of trying to copy a photo I was initially inspired by.  I want my true vision, not someone else's.  My inspiration while on site can come from several things that inspire me on a daily basis.  

Yesterday, I headed out for some kind of modern architectural photos and started at the Salt Lake City Library.  Such a great building, architecturally, photographically.  I knew this would be a good start.  I’ve photographed this building several times and have mostly come back with mediocre photos in comparison to the actual building.  So I set out again to find some kind of new angle.  I arrived on scene, tried the door and was informed by security that the library had closed at 6 o’clock.  I was a bit disappointed, but decided it would be fine and to focus on the exterior of the building.  Not being able to go inside turned out to be a benefit for my images.  Looking through the windows of the library gave me the inspiration and new take on the building I was hoping for. 

A few weeks earlier I set out to take photos of the Salt Lake City and Council building.  The photos were nothing new, but when I turned around from the location I was focusing on I was instantly inspired by a scene of lit windows looking into three separate levels of a building.  Like looking through a window into someone’s life or a building’s life.  

ISO 100  39mm f/22 25 sec

At the Salt Lake City Library that same kind of looking through the windows feel gave me the different angle I was looking for.  The interior design along with the modern architecture reminded me of the AMC television show Mad Men.  A clean cut, 60’s inspired, timeless, modern look.  The lighting drew out long shadows of the furniture and architectural lines, giving the scene a little more drama.  Looking through the windows also reminded me of the digital renditions architects use in their drawings.  Like what they would show a client to illustrate how great their building could look. 


 ISO 100 40mm f/8 1/125 sec Singh-Ray Warming Polarizer

 ISO 100 40mm f/8 1/50 sec Singh-Ray Warming Polarizer 

 ISO 100 40mm f/8 1/40 sec Singh-Ray Warming Polarizer 

 ISO 100 40mm f/8 1/200 sec Singh-Ray Warming Polarizer

I set out with an image and subject in my mind and came back with a different kind of image representing my subject in a different way.  I went out pursuing modern architecture, black and white, dramatic skies, clean lines, wide angle views and came back with my own unique images.


March 13, 2011

Architectural Lines

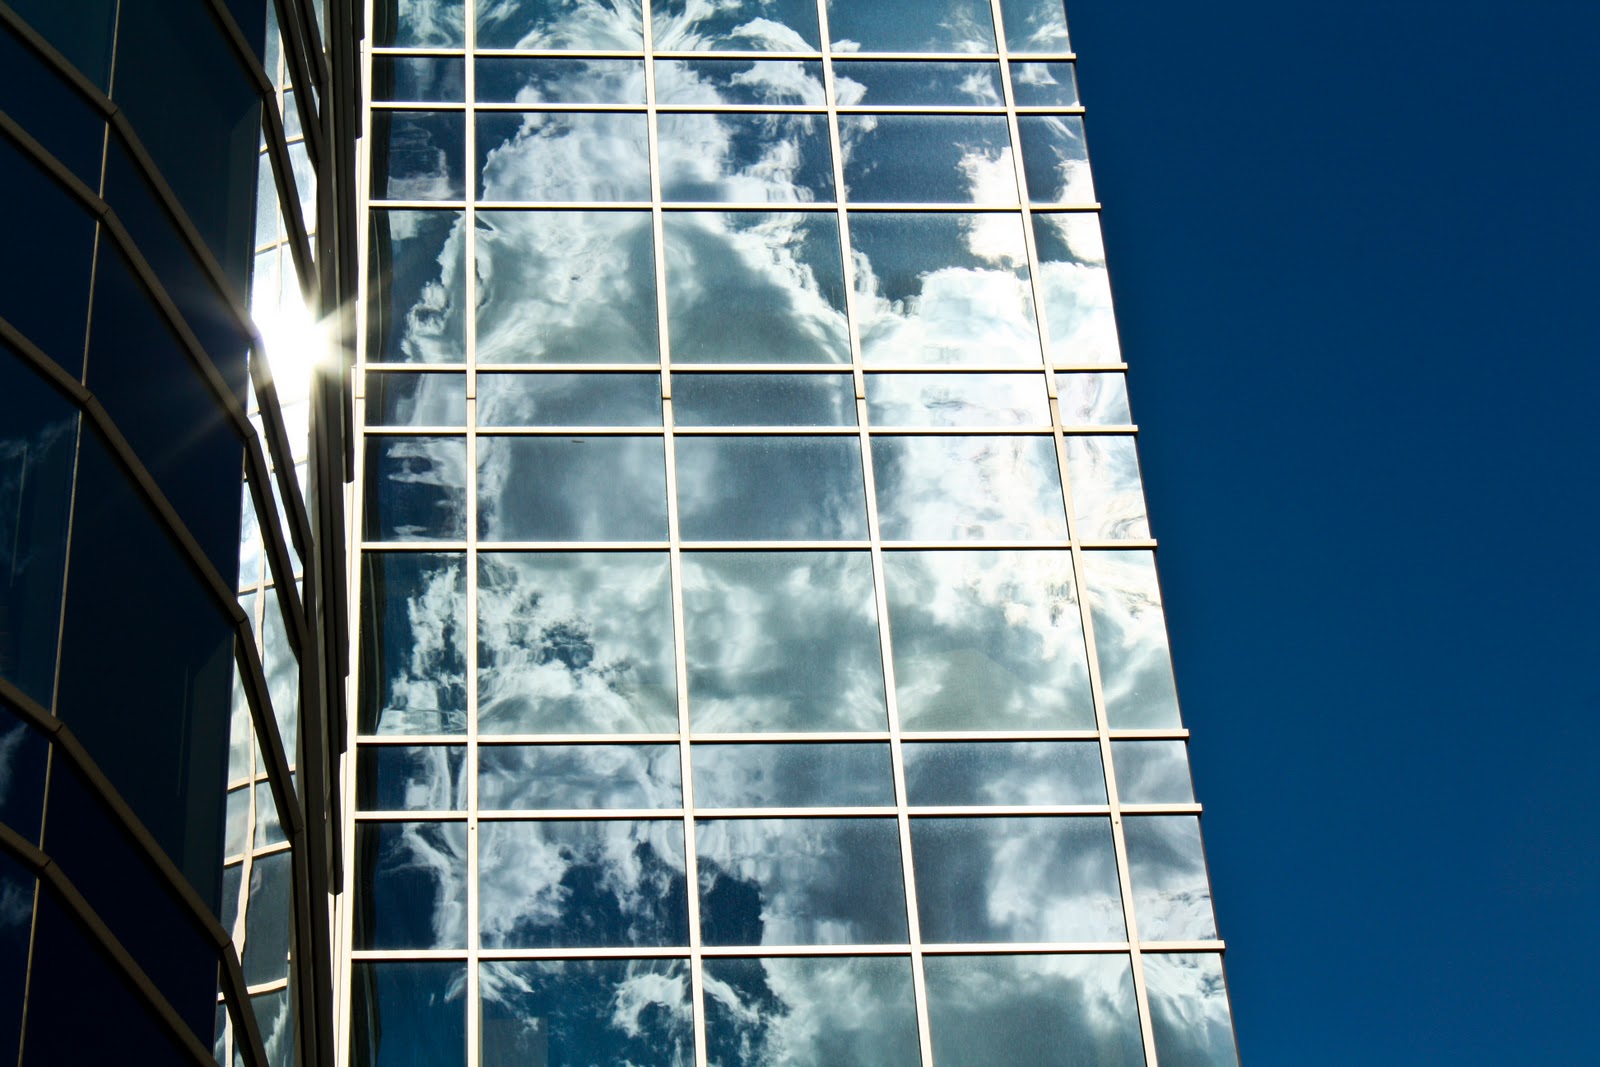
I've always gravitated toward simple, clean, classic design, whether it's in my photography or my attempt at fashion and design.  I find inspiration in clean lines, pattern and simplicity.  Architecture has always fascinated me and though it's not my photographic specialty I do enjoy photographing it and am often inspired by it.  So I've decided to start some kind of project of architectural lines and attempt to portray it  as I see it.

Reflections of the sky in a modern building downtown Salt Lake City, Utah.

Downtown Salt Lake City Library.

Simple, architectural, clean.

March 10, 2011

How To: Lens Distortion

After a long day at work, I decided to test out my new tripod at the Salt Lake City LDS Temple.  Lighting was great and the new tripod worked well, but when I downloaded my images to my computer I noticed the temple looked more like the leaning tower of pisa than the SLC Temple.  This was because of lens/barrel distortion.  I have a great 17-40mm Canon lens, but at 17mm it can start to distort straight lines, especially towards the edges.  It's not necessarily the lens' fault, lens distortion is expected with any wide angle lens, but I knew I had to fix it.  So I did a little research and found a program called PTLens and immediately downloaded the free trial.  After fiddling with the controls a bit it became easy.  In minutes I was fixing my unpleasing images and turning them into what I had envisioned them to look like in the first place.  I still haven't experimented with the other capabilities this program offers such as chromatic aberration and vignetting, but they should be a great addition.  This program, or any program like it, is a priceless addition for any serious photographer.  I know when my free trial is up I will have no problem forking over the $25 for the full download.

Here are some examples of the capabilities of PTLens:

The ground looks level, but the temple is completely tilted.
With the help of PTLens the temple is standing straight. 
When titling the lens up to fit the building into the picture distortion like this is very extreme.
Again, PTLens fixes the problem and gives the image a professional look.

To say the least, I was impressed and excited to improve my photography so much with such little effort.

Note: Tripod was great and easy to get use to.  For the money, it's awesome.  I just hope it can stand up 'til I can afford a real professional tripod. 

March 05, 2011

Griffith Observatory

I didn't think I'd be giving directions when I got into the cab to go to Griffith Observatory, but the driver insisted that my destination was the LA Zoo in Griffith Park because he had no idea what an observatory was.  Long story short, I was grateful for the amazing navigation capabilities of my smart phone and eventually got to my destination.  Besides the rough start, by the end of the evening I felt I had made a smart choice by spending my only night in LA at the observatory.  Great views of the city, a sunset over the ocean, views of the hollywood sign, and a museum visit all in one location.  To say it simply, I was photo happy.  However, there were a few things I wish I had brought along with me, like a tripod and a zoom lens, but I was able to compromise by using ledges for stability and little creativity for lack of a zoom lens.  It is always good to challenge yourself, even if it's not necessarily on purpose.  So, I did what I could with my shortcomings and explored every inch in and around the Griffith Observatory.  

Hollywood sign from afar.  Not having my zoom lens forced me to get creative, but I think that's why this shot works.  A close up of just the Hollywood sign would have been just like every other.  This shows the proximity to the observatory and tells more of a story.


An interactive and stimulating museum inside offered a nice break while waiting for better lighting outside.  

A corridor chronologically displaying every supernova and black hole from the big bang theory to a Pluto-less solar system. 

Magic hour lighting.  Griffith Observatory and the city of Los Angeles.  

When a handrail comes in handy as a makeshift tripod.  An observer watching the lights of the city transitioning from day to night.

Another time when a tripod would have been nice, but a statue's ledge seemed to do just fine.  

February 21, 2011

Utah State Capitol

The Utah State Capitol is one of my favorite buildings in Salt Lake.  It sits up on the hill and is visible at nearly every angle in the valley.  The architecture is amazing and inspiring, and it sits amidst some breathtaking landscape.  Here are a few of my favorites of the Utah State Capitol:

Camera Gear: Canon EOS Rebel XS, Canon 55-250mm f/4.5-5.6, Canon 17-40mm f/4L, Singh-Ray Graduated ND filter, Tripod.

ISO 100  35mm  f/8  3.2 sec.  Canon 17-40mm

ISO 400  208mm  f/7.1  0.6 sec.  Canon 55-250mm

ISO 100  40mm  f/8  2 sec.  Canon 17-40mm, Singh-Ray Graduated ND filter

ISO 200  100mm  f/22  30 sec.  Canon 55-250mm


 ISO 200  100mm  f/22  20 sec.  Canon 55-250mm

February 19, 2011

Story: Airport Casino

I was traveling to Los Angeles for business and stopped over in the city of Las Vegas.  Right off the plane passengers stepped into a large round room full of slot machines.  It was still early enough that the machines looked nearly deserted.  For the next two hours of layover time I got out my camera and started taking pictures.  Slowly but surely, as the crowd in the terminal thickened, the crowd at the slots did too.  People started playing.  Most travelers walked around the slots, curious, smiling, wondering what they could win during their layover. One man hummed and hawed about it for awhile, standing back just staring, thinking.  He finally gave in, lost a few bucks and gave up.  Although only there, in the airport, for two hours I felt like I experienced a taste of Vegas:  Travelers enthralled in the lights and sounds with cash in hand.

Camera Gear:  Canon EOS Rebel XS, Canon 17-40mm f/4L


ISO 400  27mm  f/4  1/80


ISO 400  17mm  f/6.3  1/60


ISO 400  40mm  f/6.3  1/80


ISO 400  40mm  f/4  1/100.  Cropped in Lightroom